
Washing your car the right way
April 11, 2021
Ceramic Coatings Explained
April 15, 2021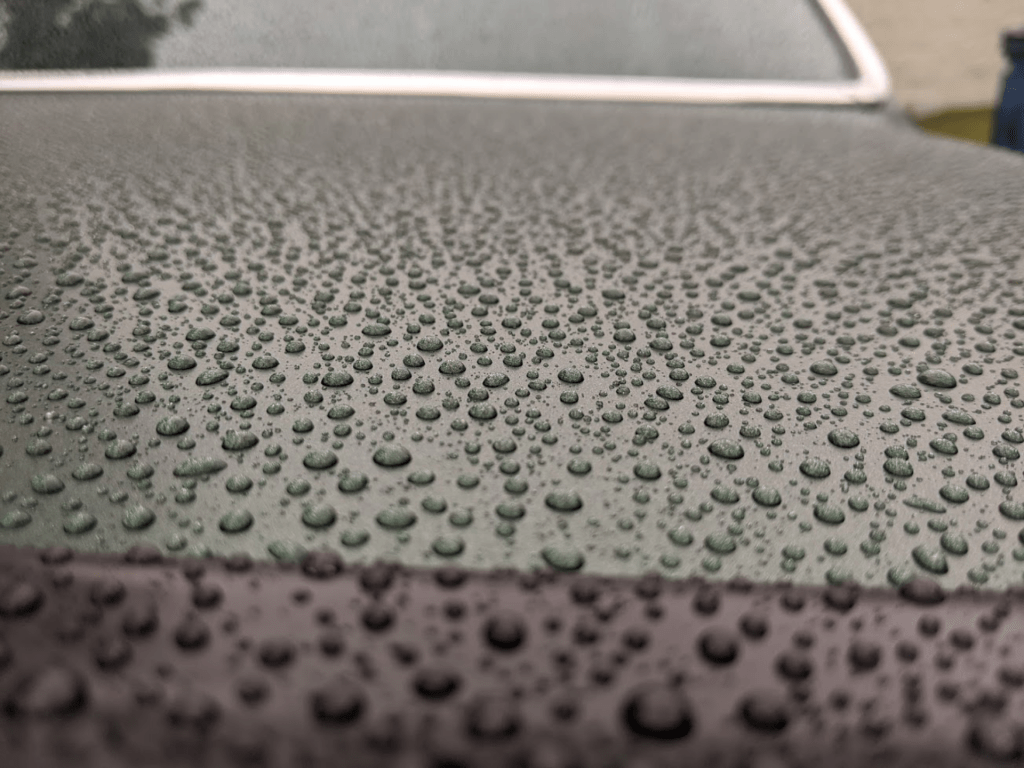
Washing your car the right way
Tools for Washing

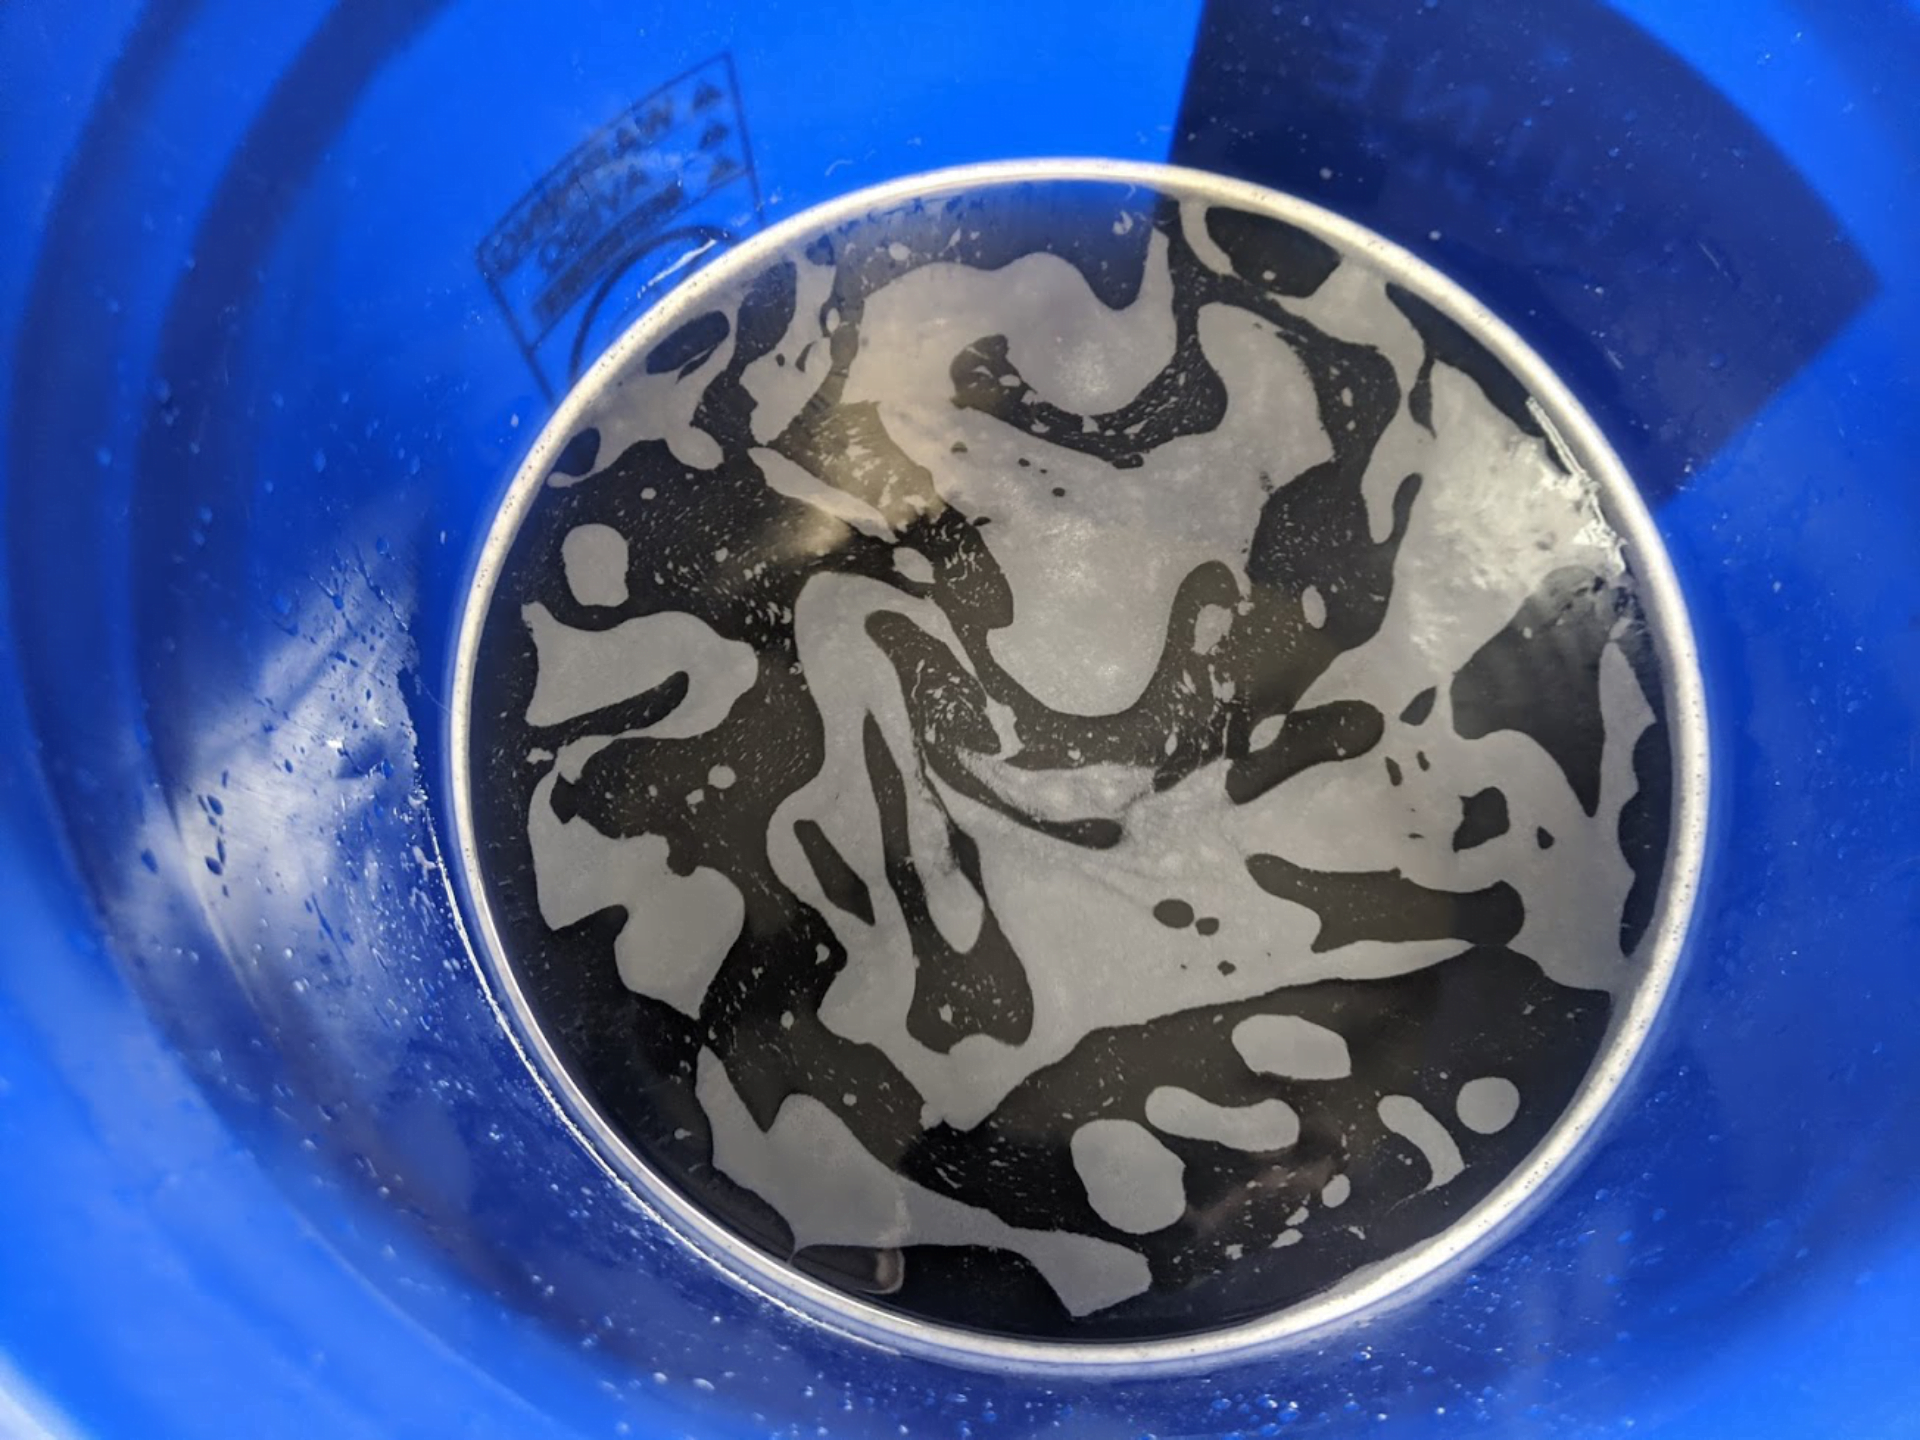
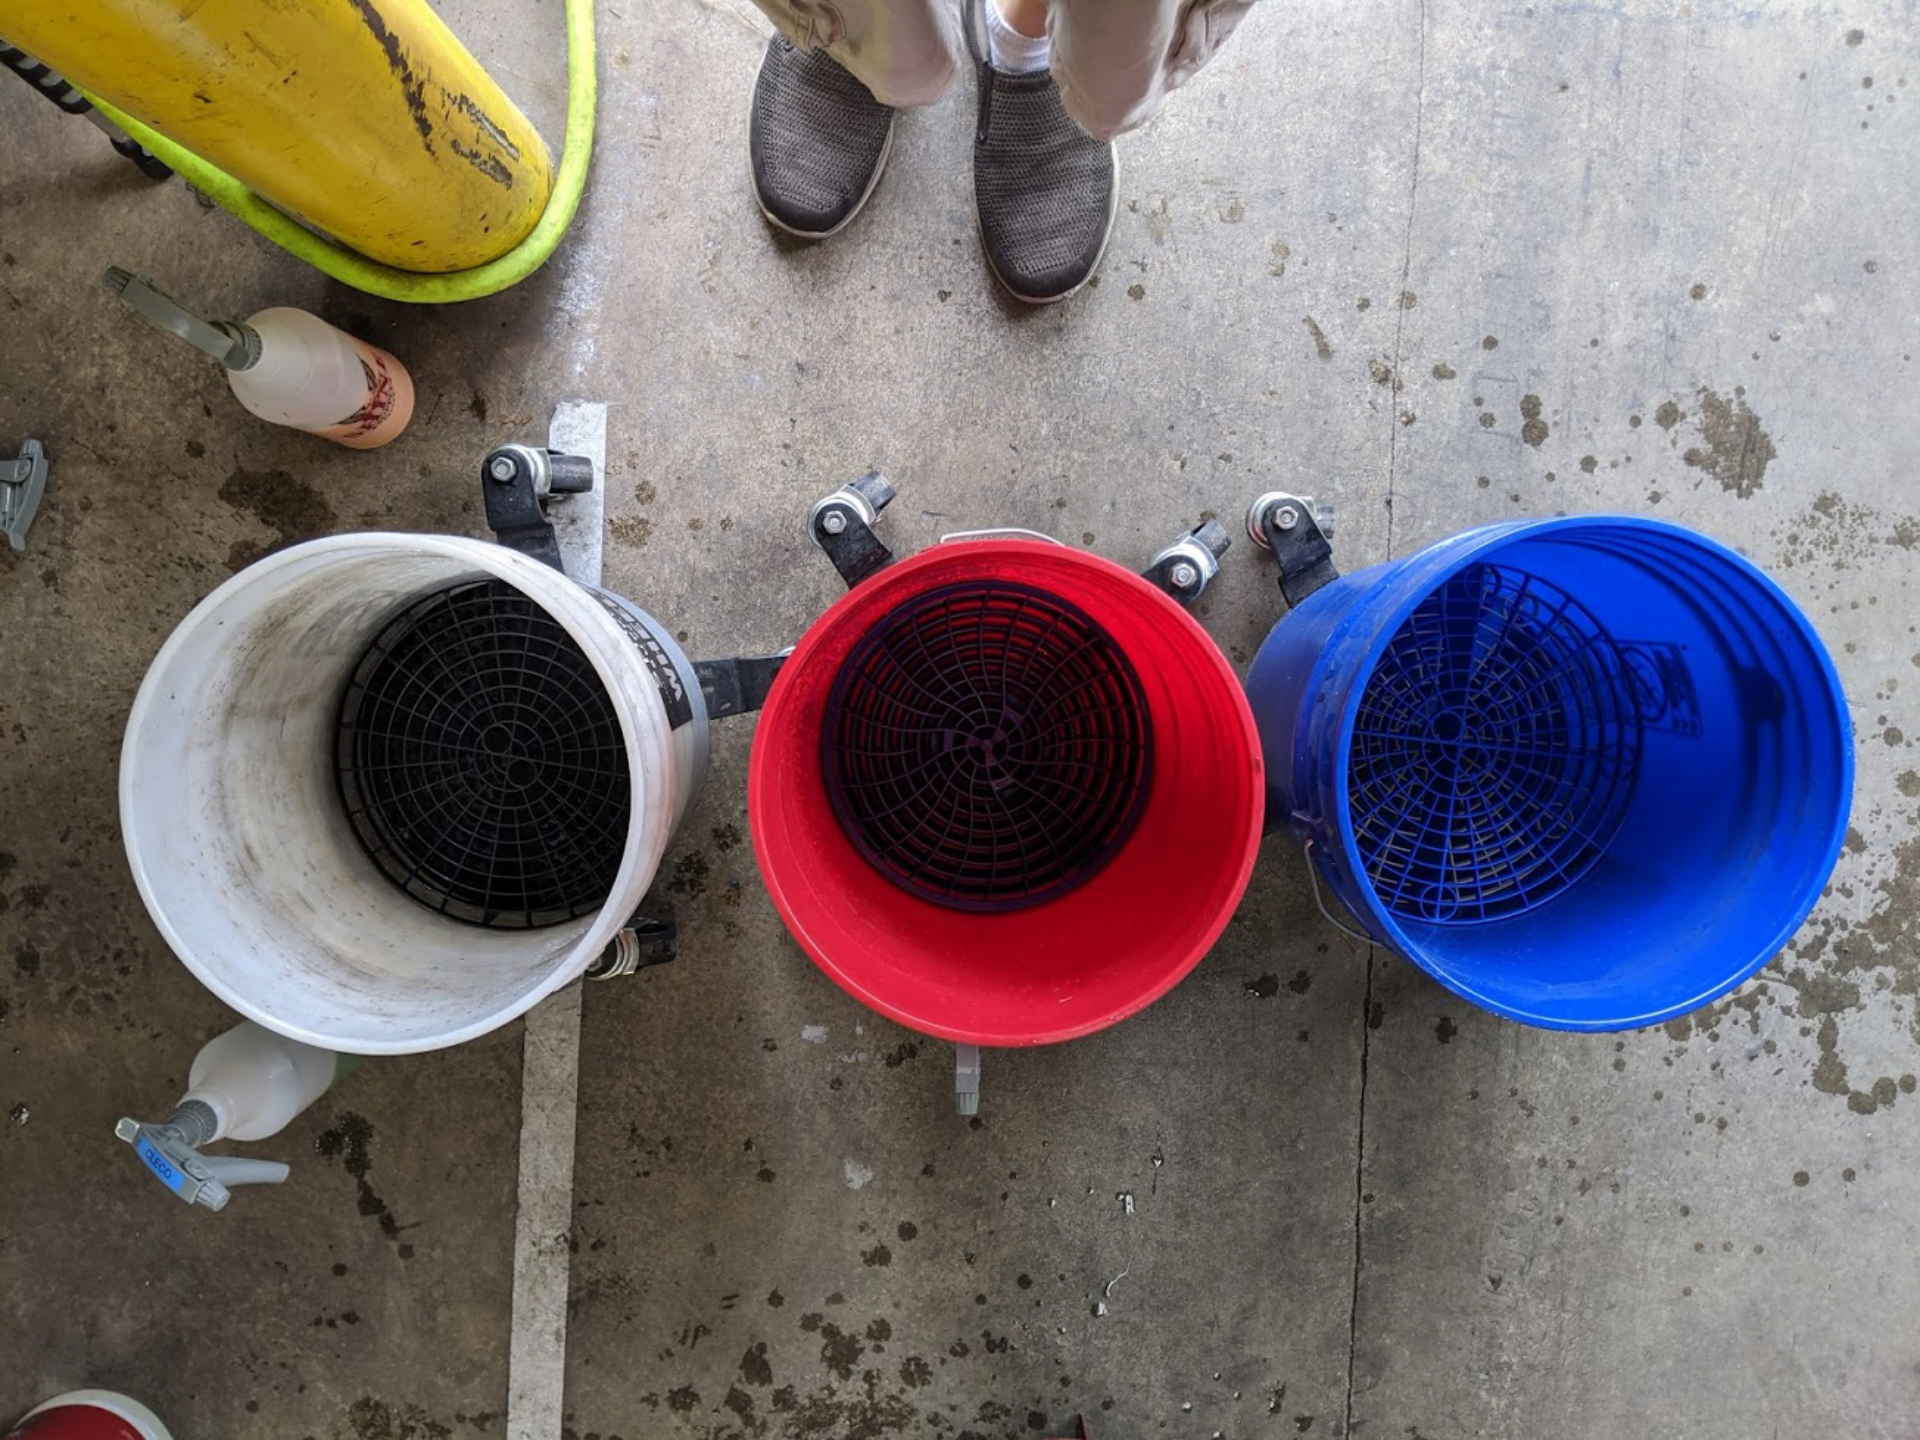
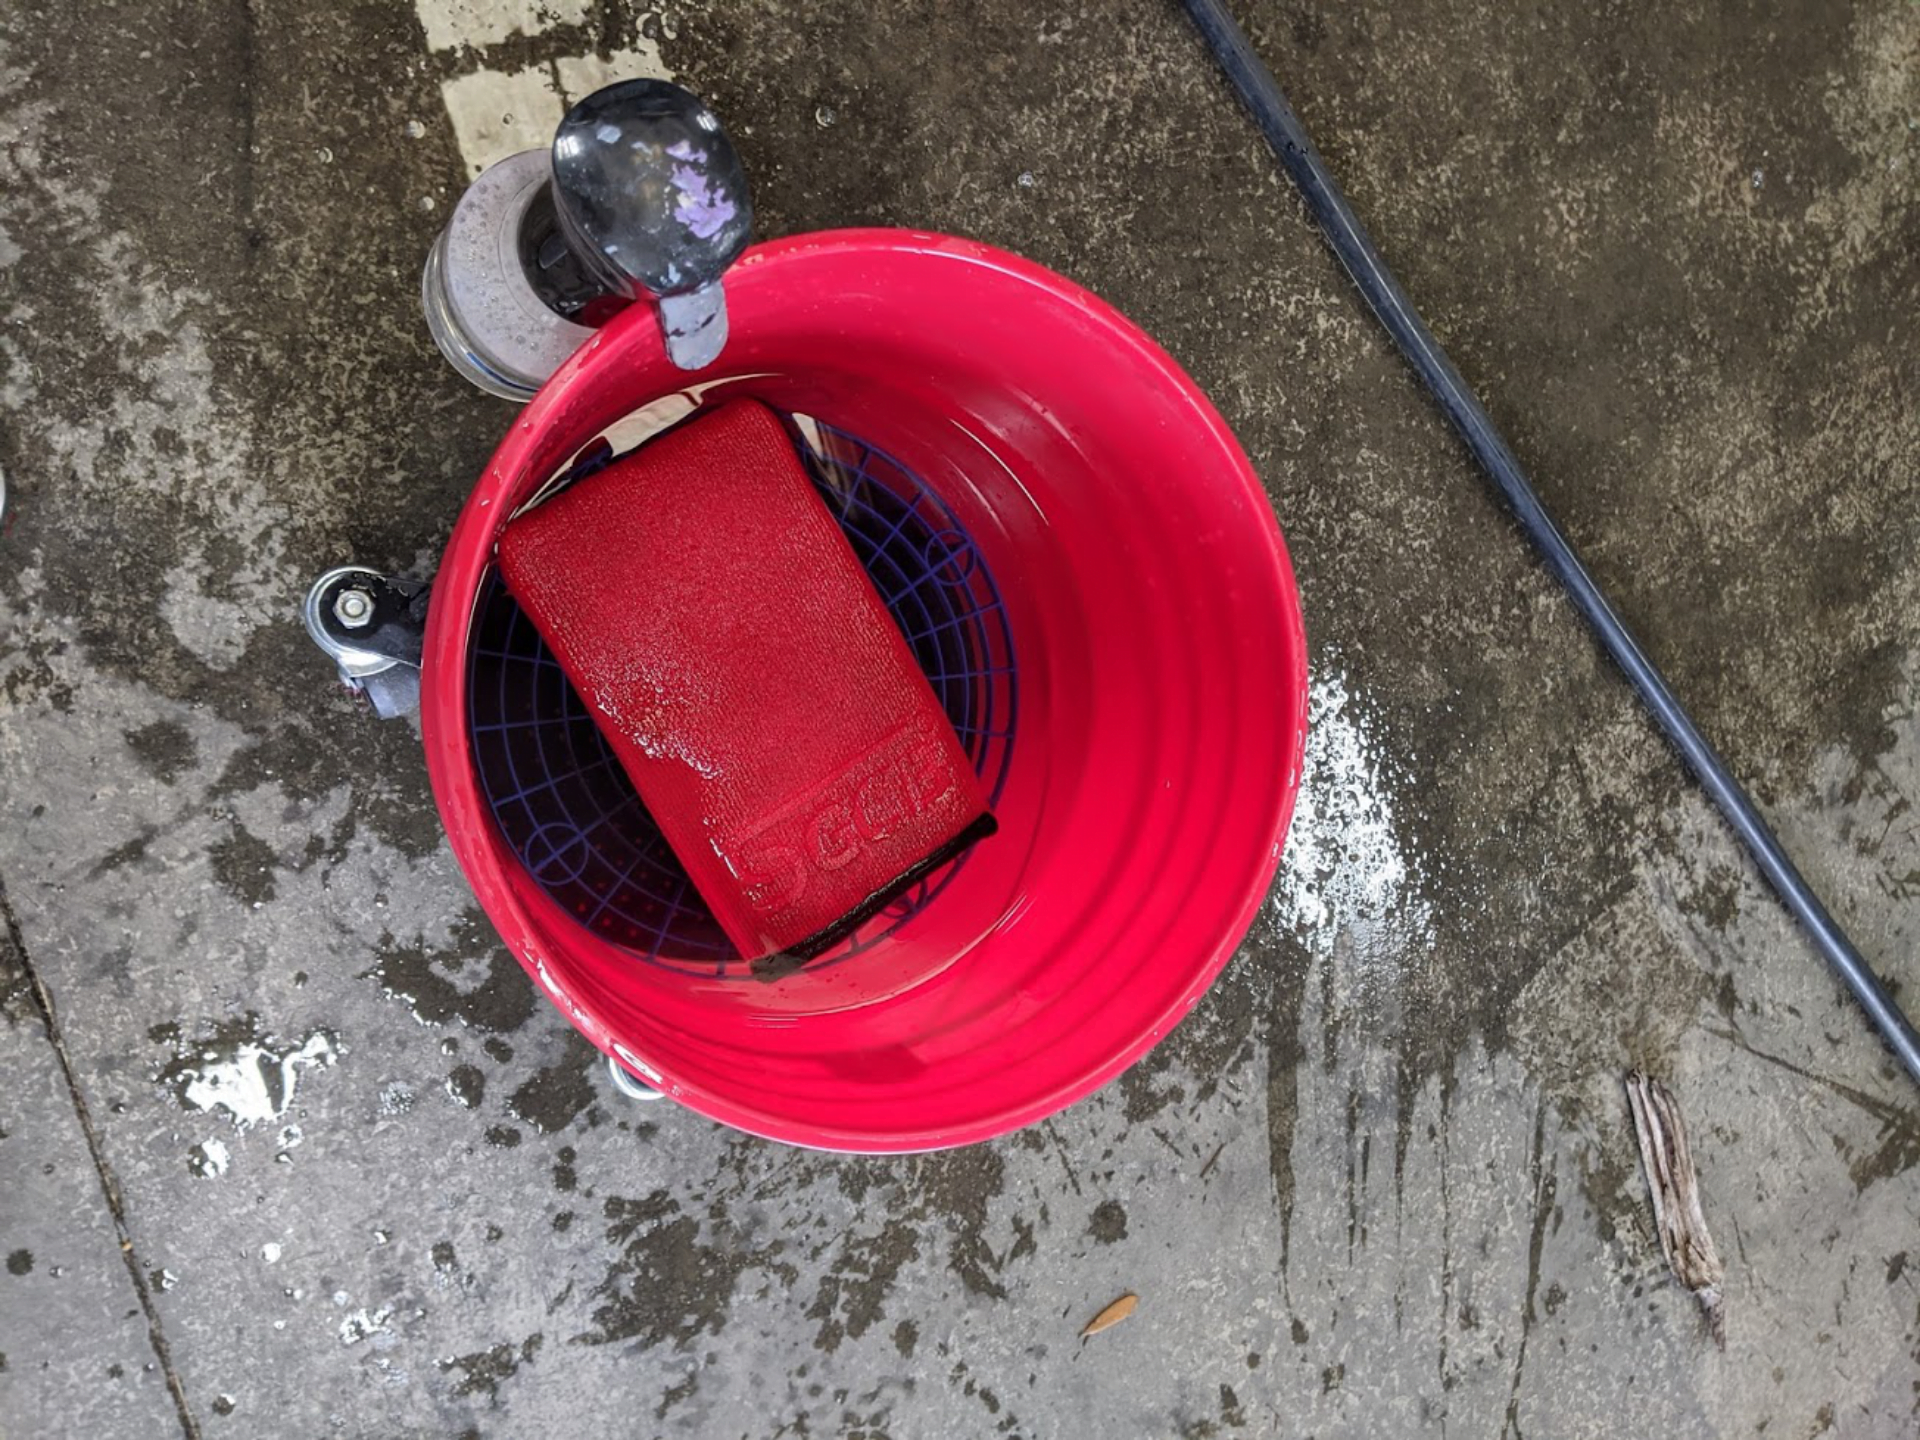
Wash Buckets

Dirt Locks
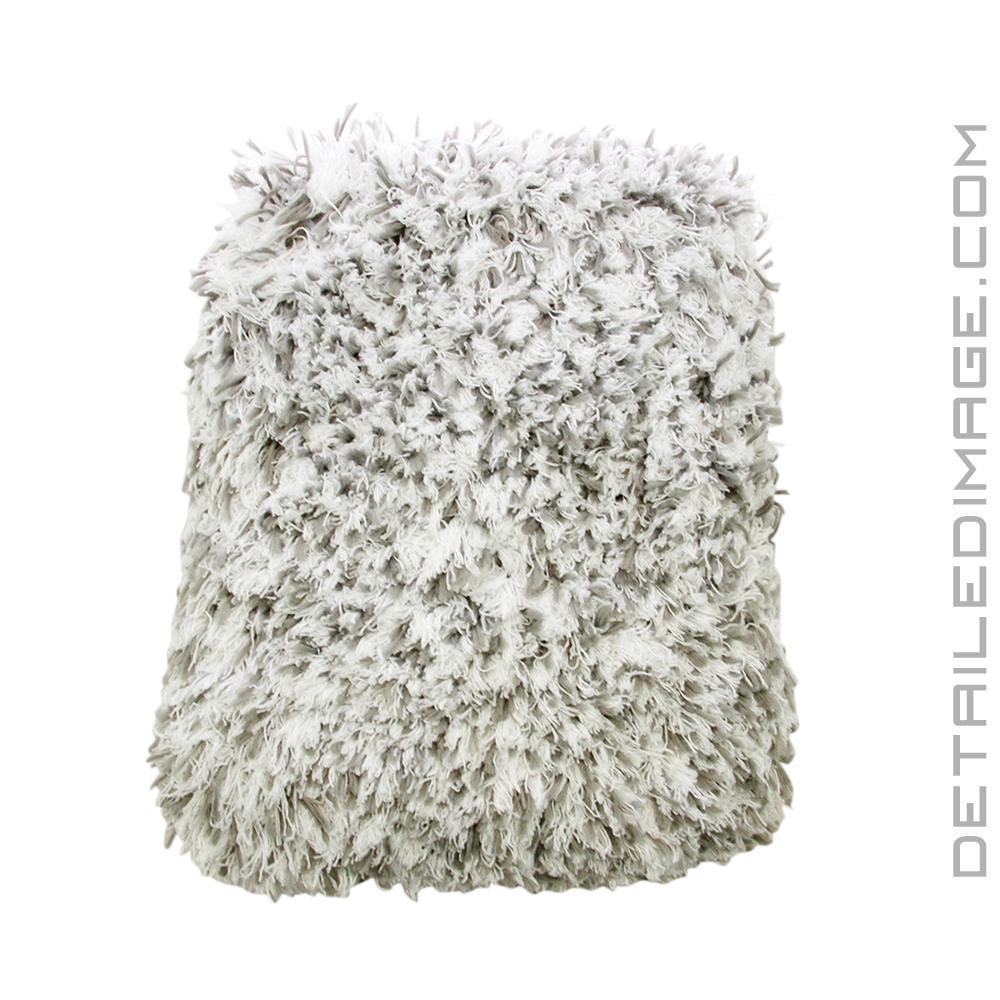
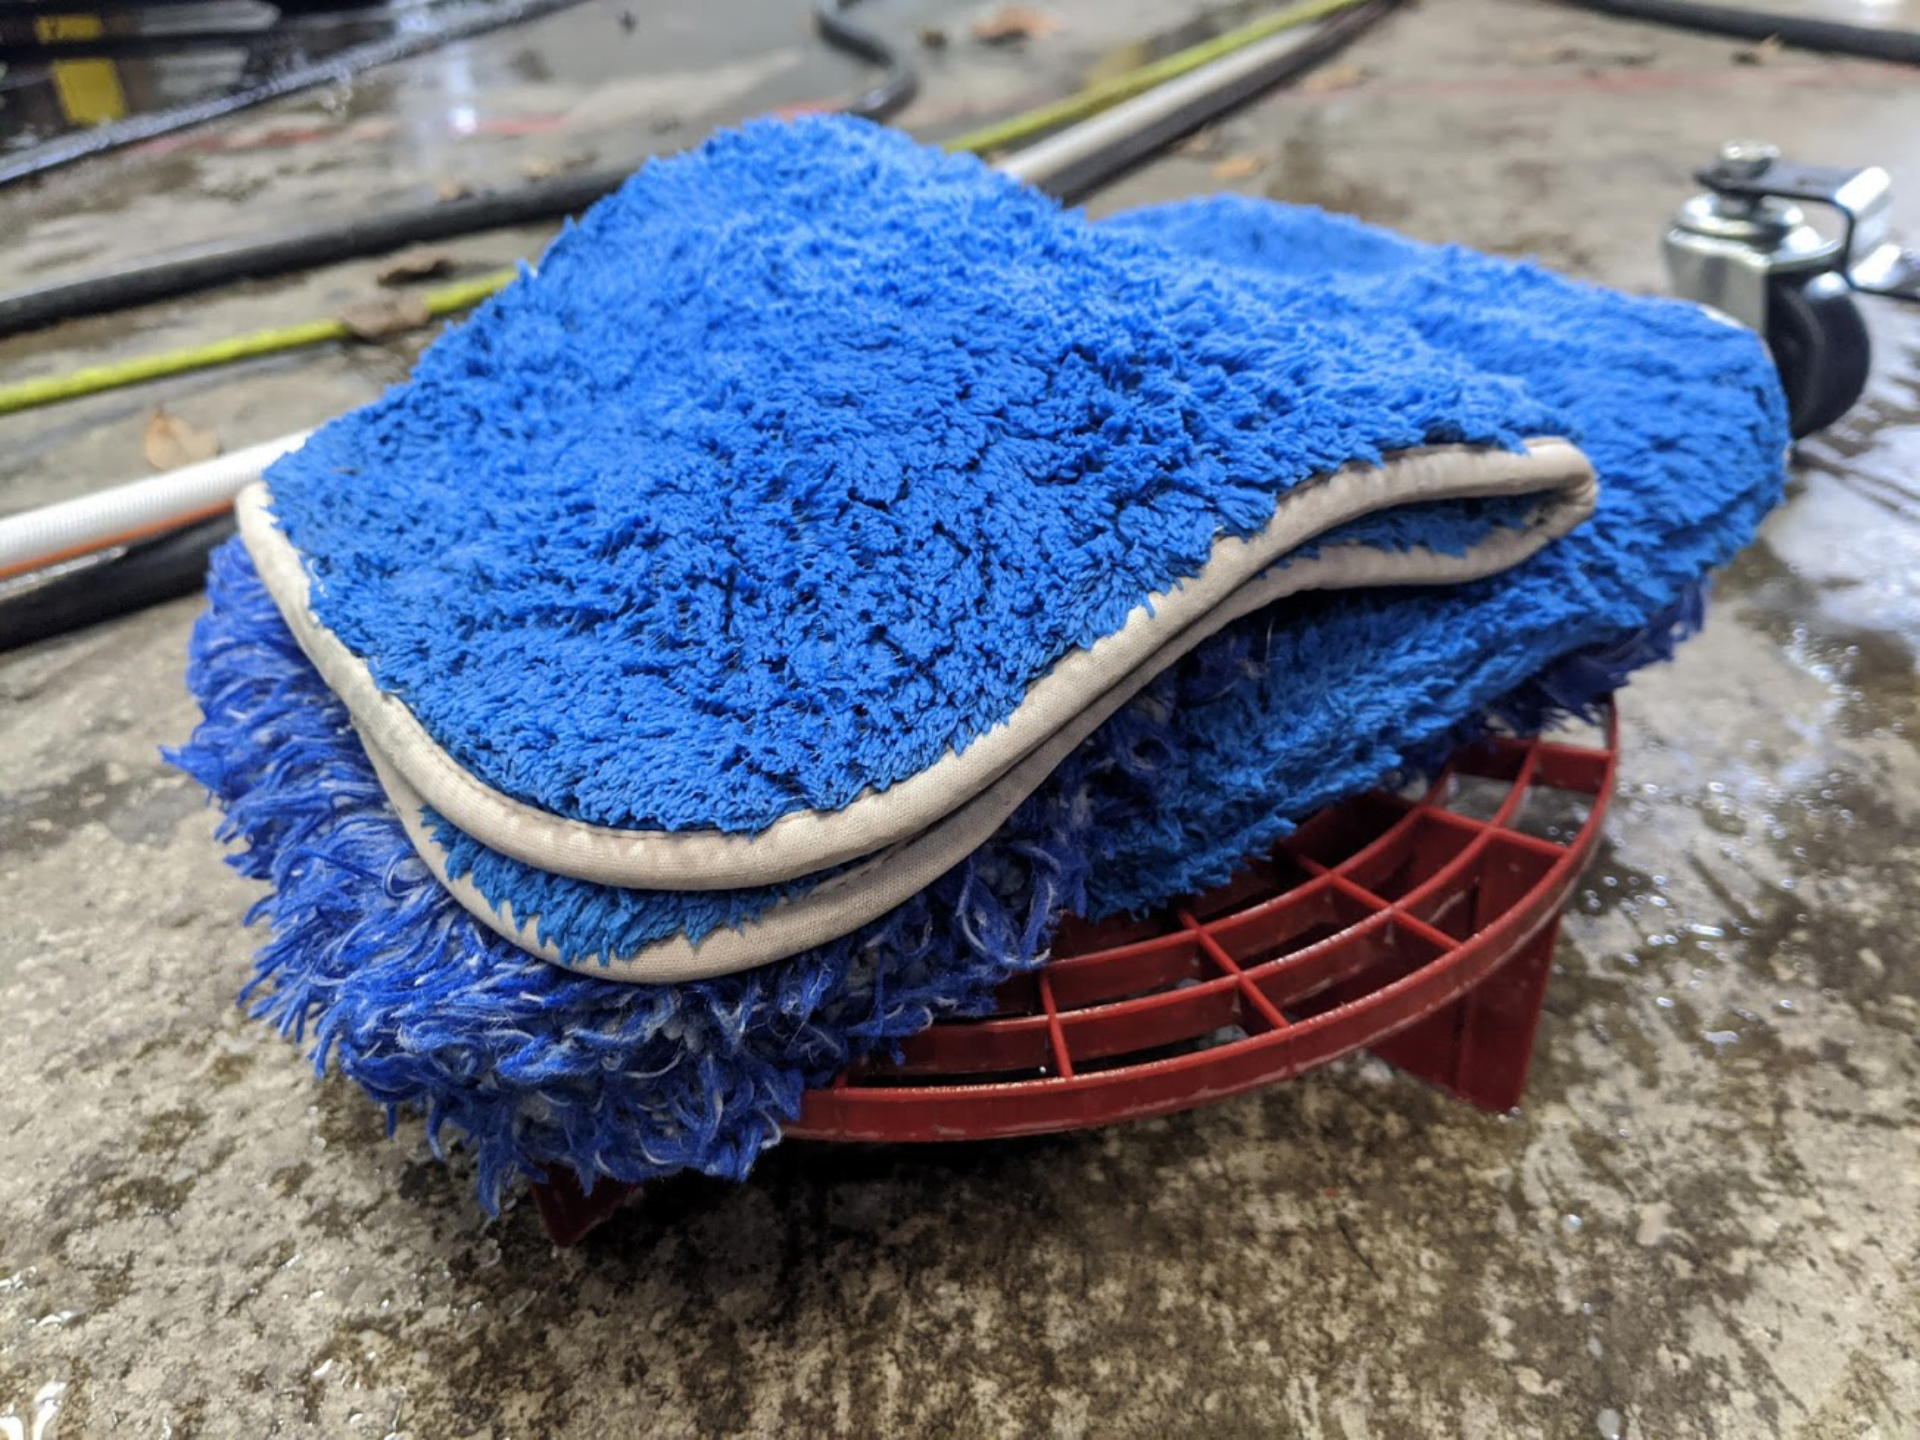
Wash Mitt
Double Flips
Wheel Tools
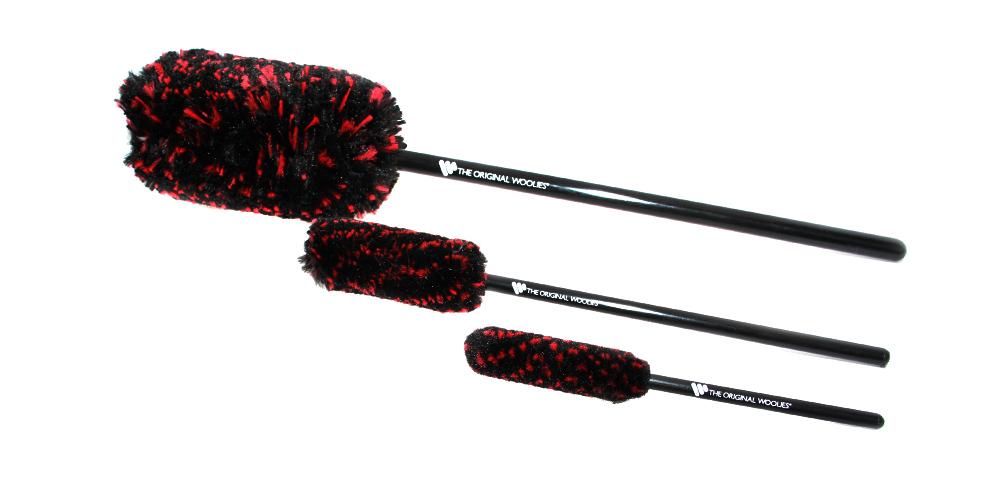
Wheel Woolies
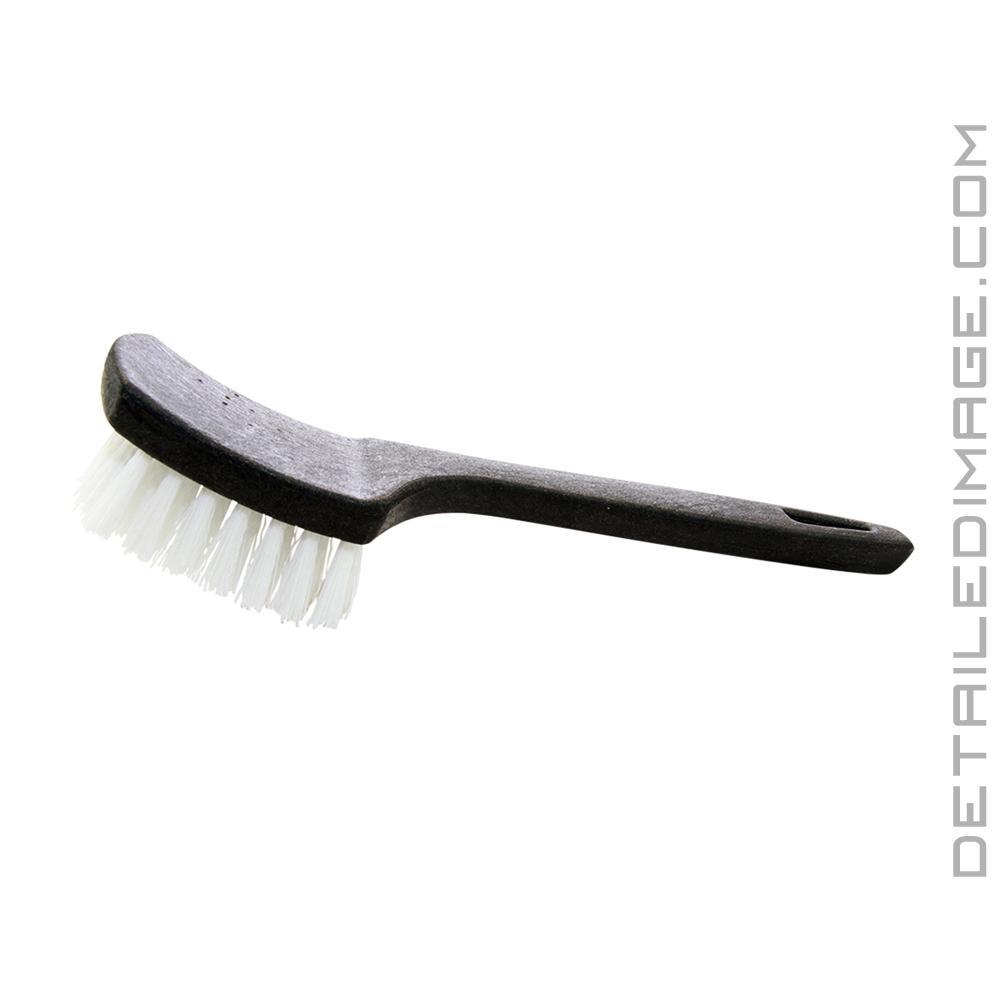
Tire Brush
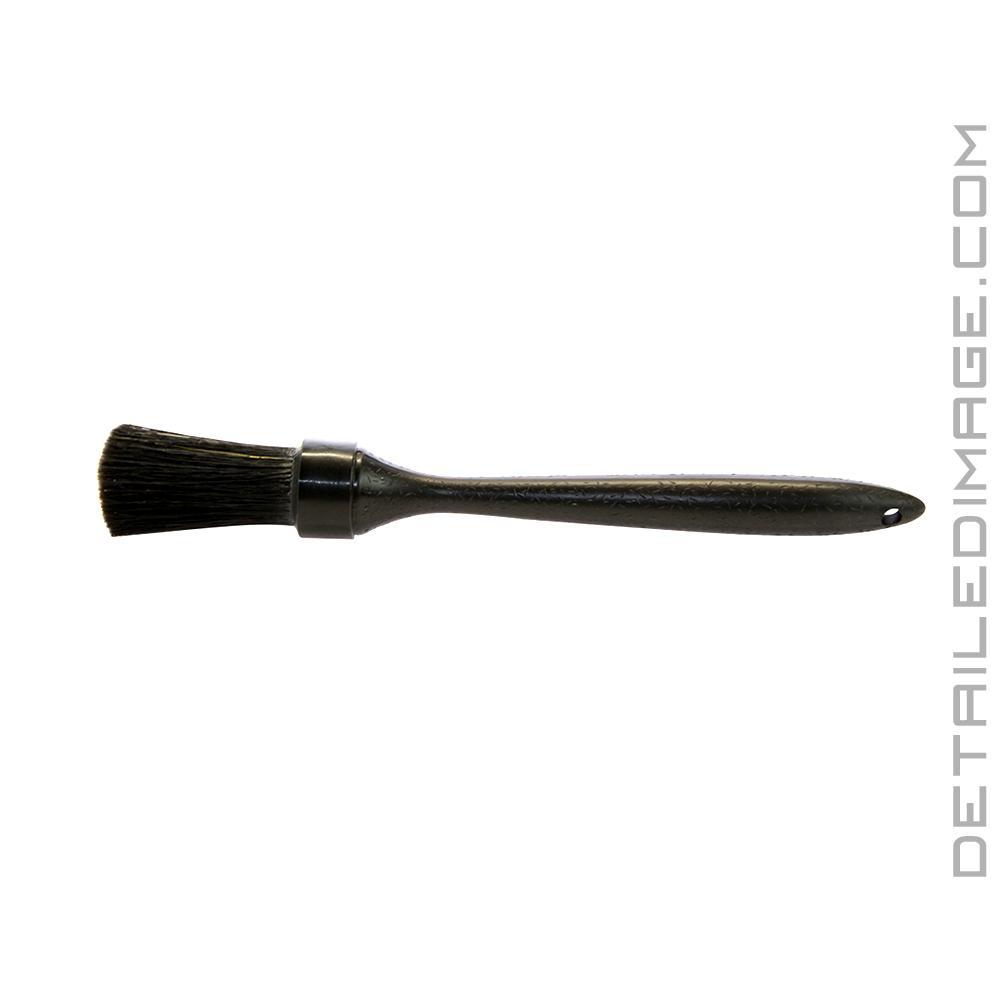
Boar's Hair Detail Brush
Dressing Applicator
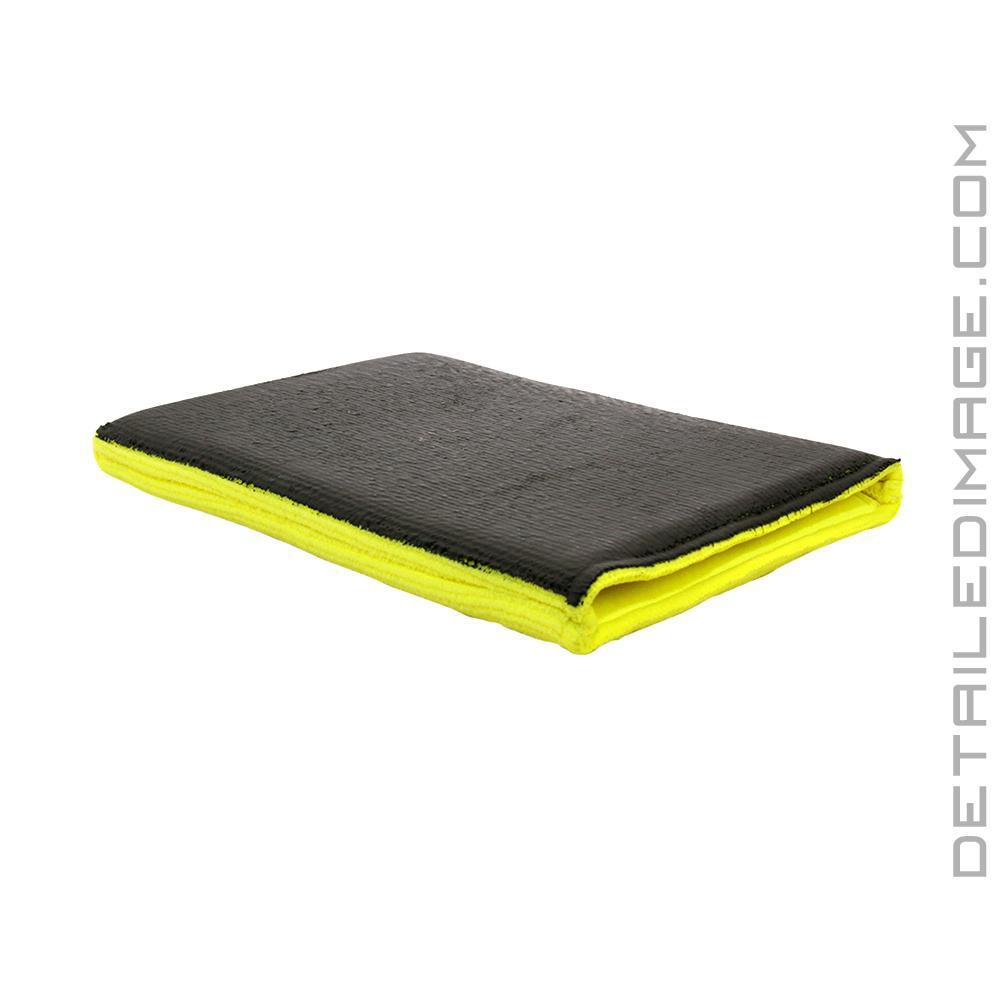
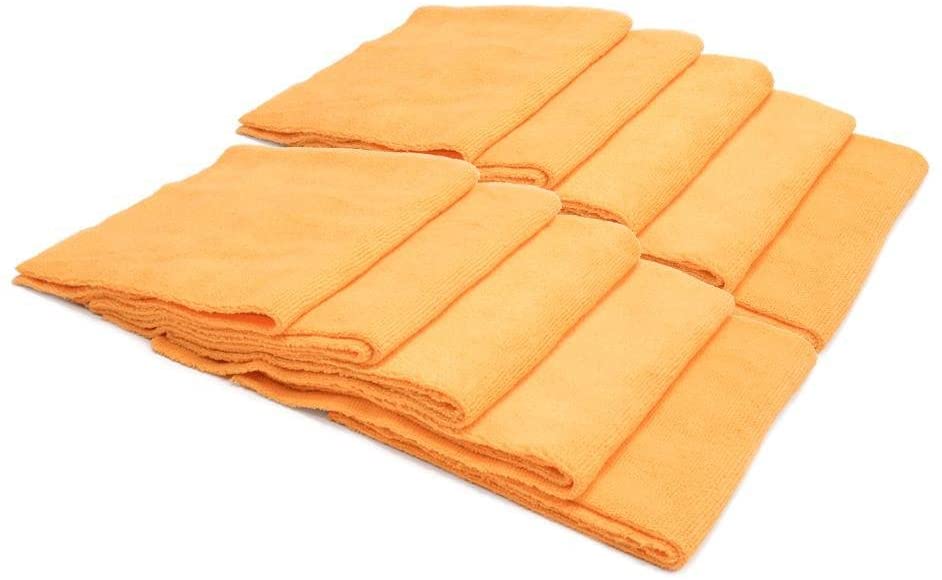
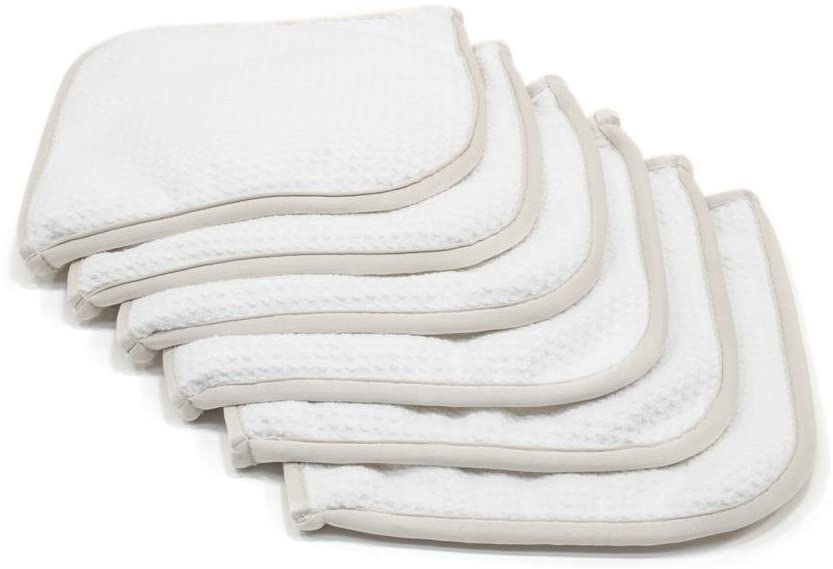
Towels

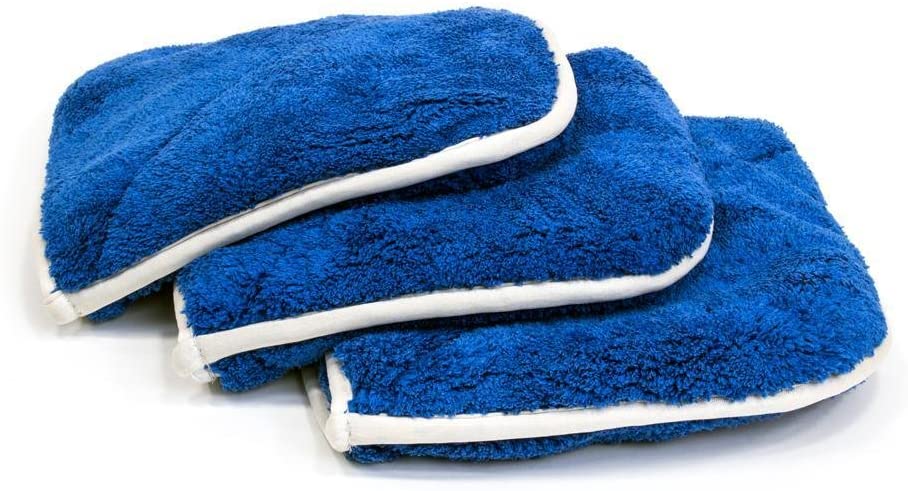
Microfiber Towels
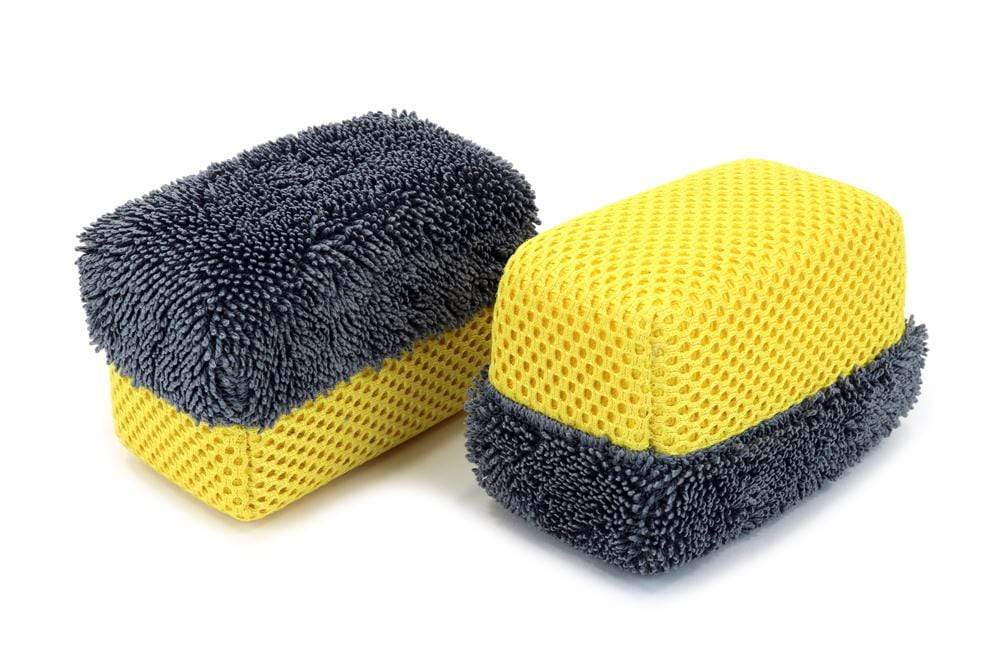
AutoScrub
Everything Towels
Glass Flips
Wash Chemicals

Pure Wash

GSF Snow Foam

GreenStar
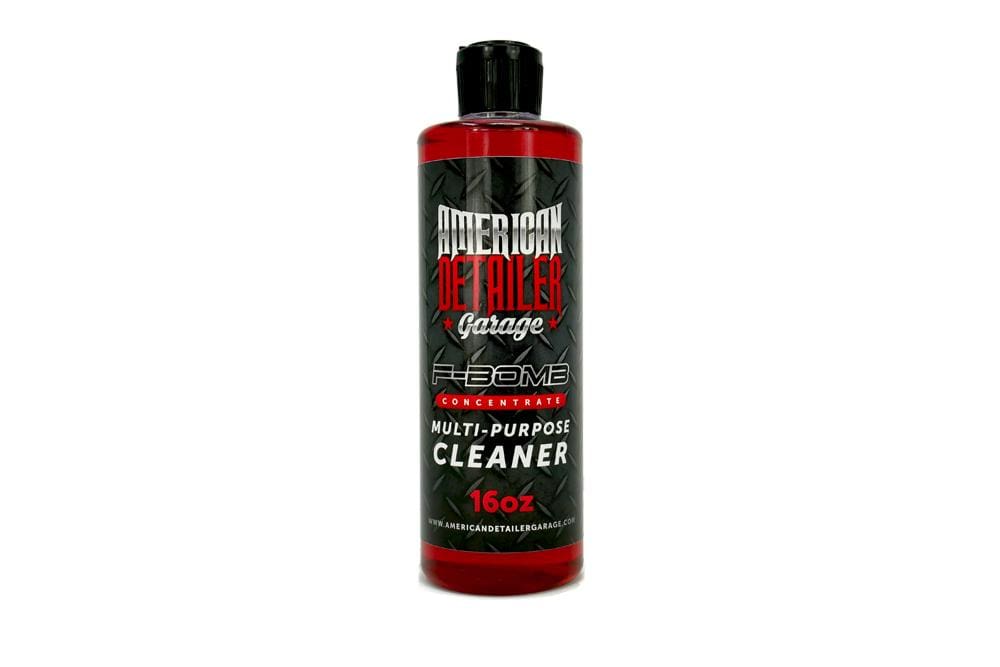
FBomb Degreaser

Magic Wheel Cleaner
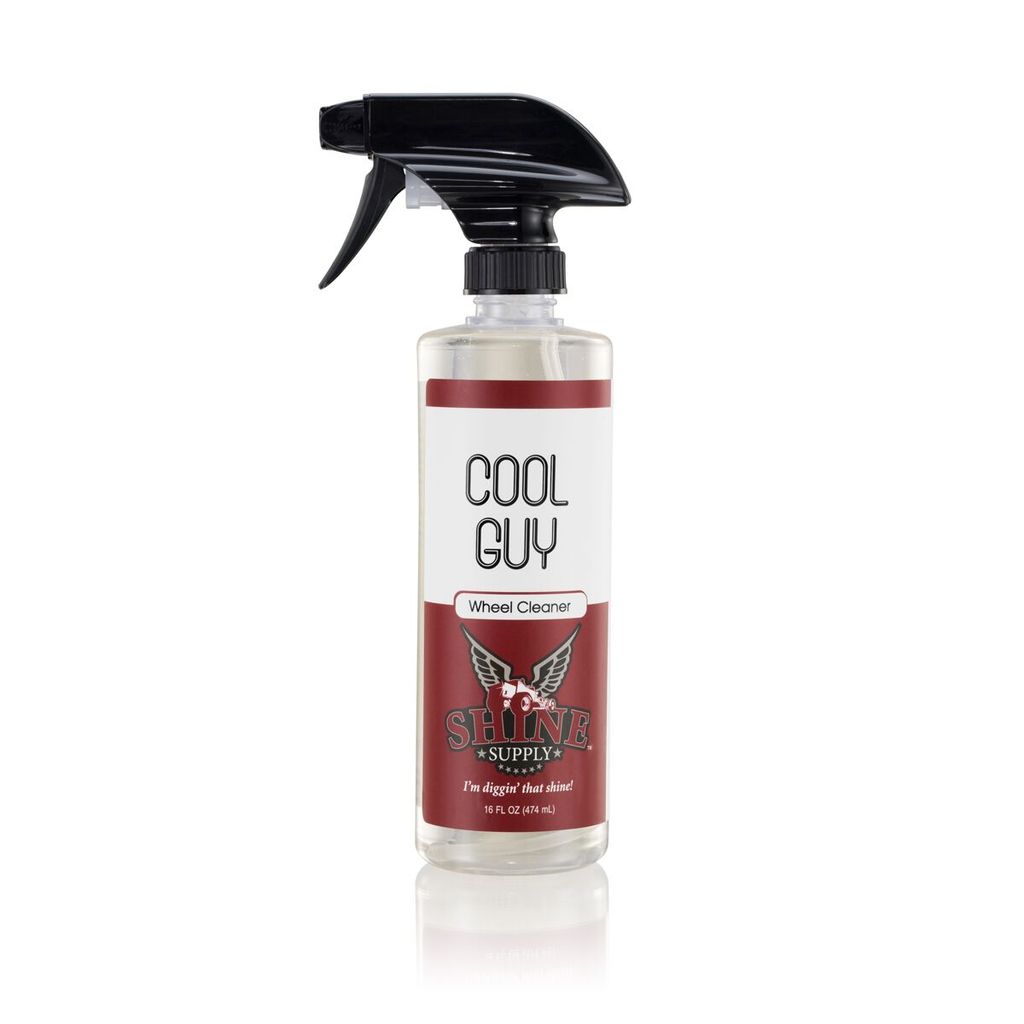
Cool Guy
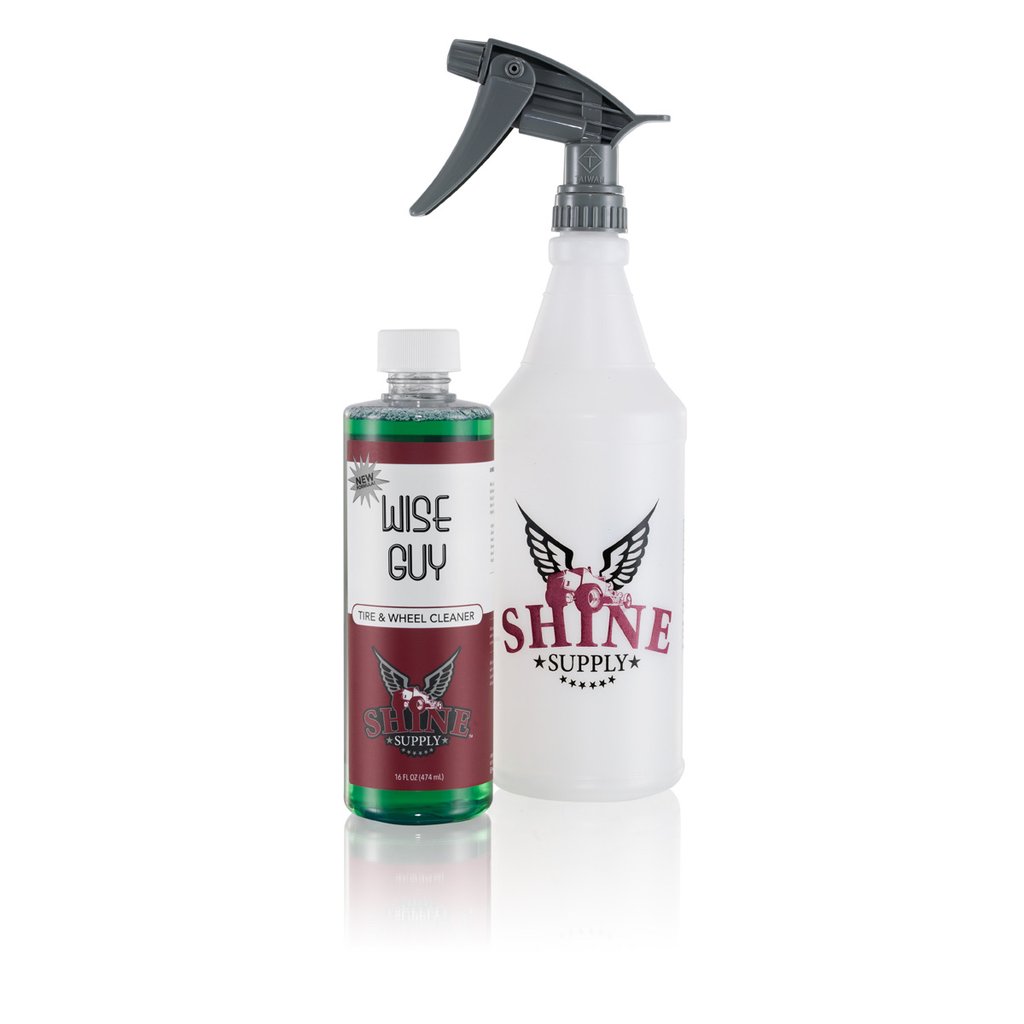
Wise Guy
Finishing & Maint

Glass Cleaner
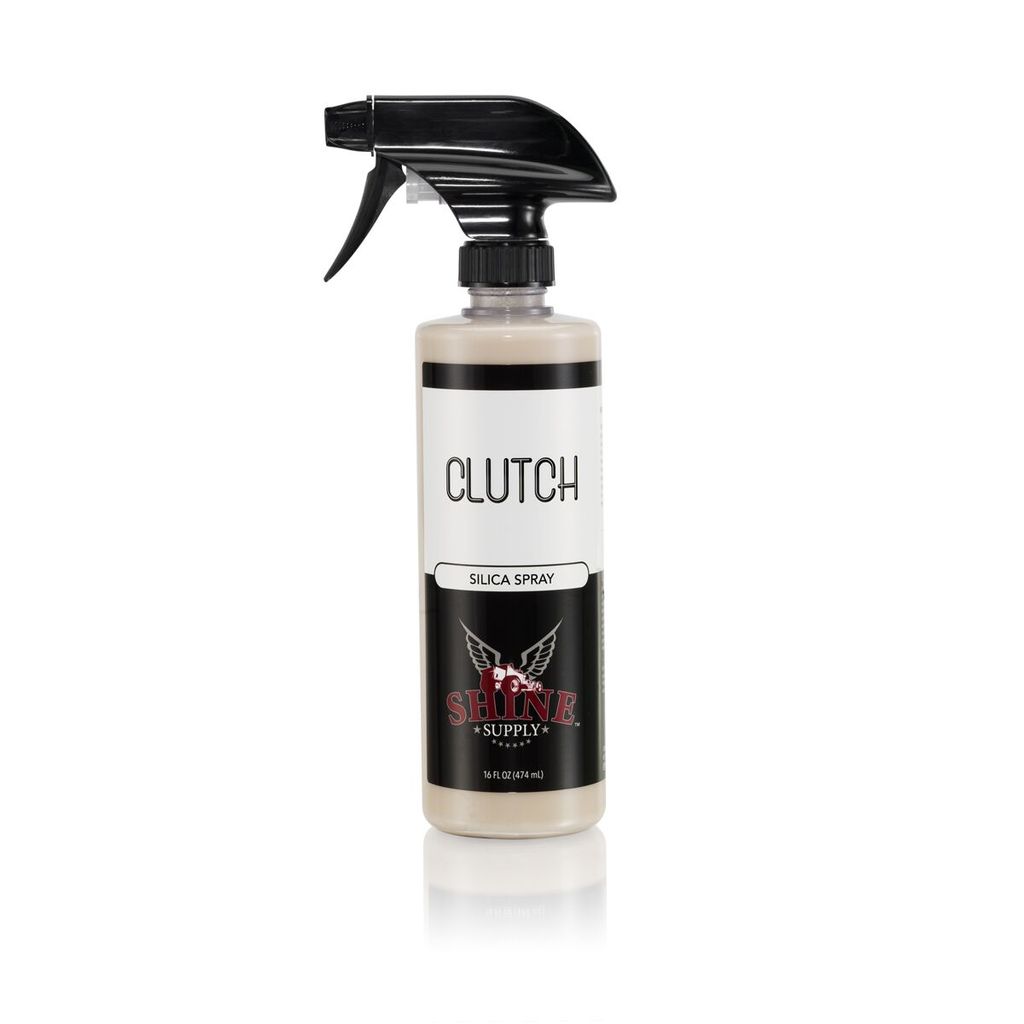
Clutch
KCx Finish Spray
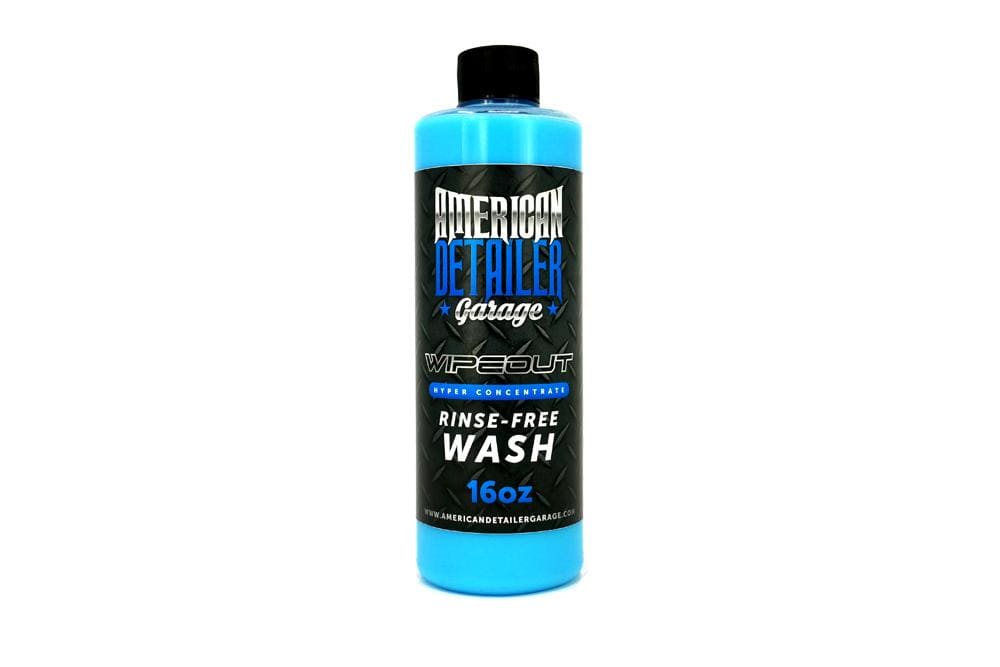
Wipeout
Location:
Setup
Start
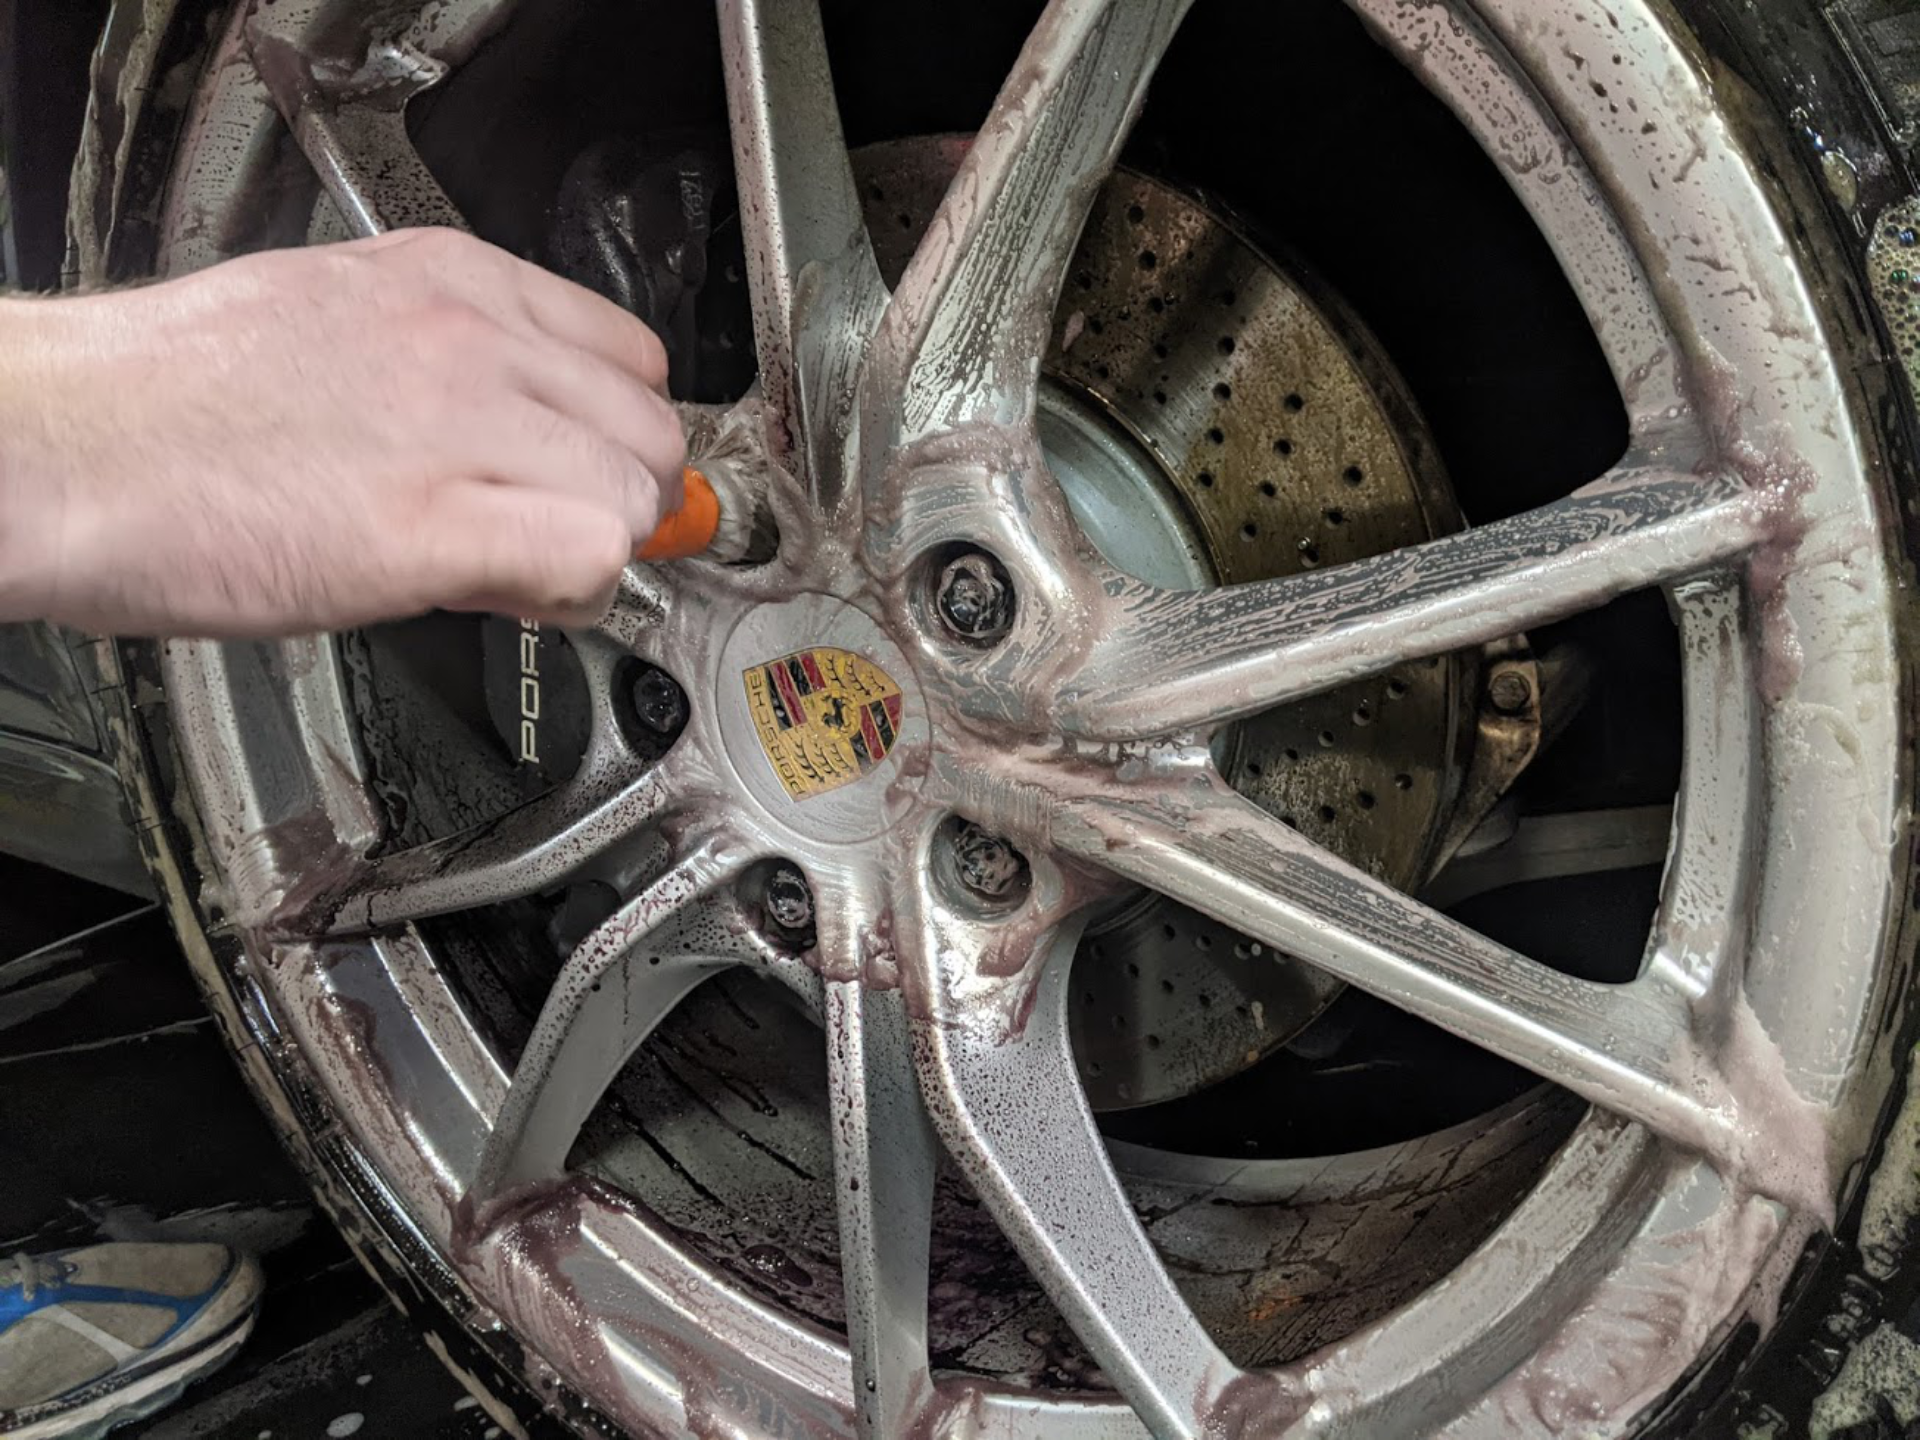
WHEELS
Since wheels and tires are one of the hardest parts of the wash. Brake dust, road dust, most modern vehicles wheels get very dirty very fast. To avoid any water spots from forming due to time spent on wheels. Start here.
Spray down all 4 tires and surrounding wheel arches to get as much of the road debris off of them as possible.
Spray down all 4 wheels with the Iron X/Sonax and allow to sit to remove any iron deposits
Agitate any remaining dirt and filth from tires using assorted brushes. Pay attention to corners of spokes and lug nuts
Can also use this on exhaust tips and suspension pieces that might be visible.
BODY
Rinse from top to bottom.
Take 1 clean mitt to begin your wash. Each wash mitt should be flipped 1 time then returned to the rinse bucket.
You should be able to get about 2 panels per cycle. We normally start at the roof and work down.
Since most of the dirt will be focused on the bottom of the panels, try to only wash half way down before rinsing the mitt out.
Pop your gas cap and take the body boar's hair detail brush and clean one of the most overlooked areas.
Take a microfiber towel and make sure all your wheel arches and side view mirrors and all the other hard to reach areas have been cleaned.
Rinse Entire car and overview your work. This is normally where any "missed" spots are going to show. Take a microfiber to the wheels for any areas that you can see remaining dirt.
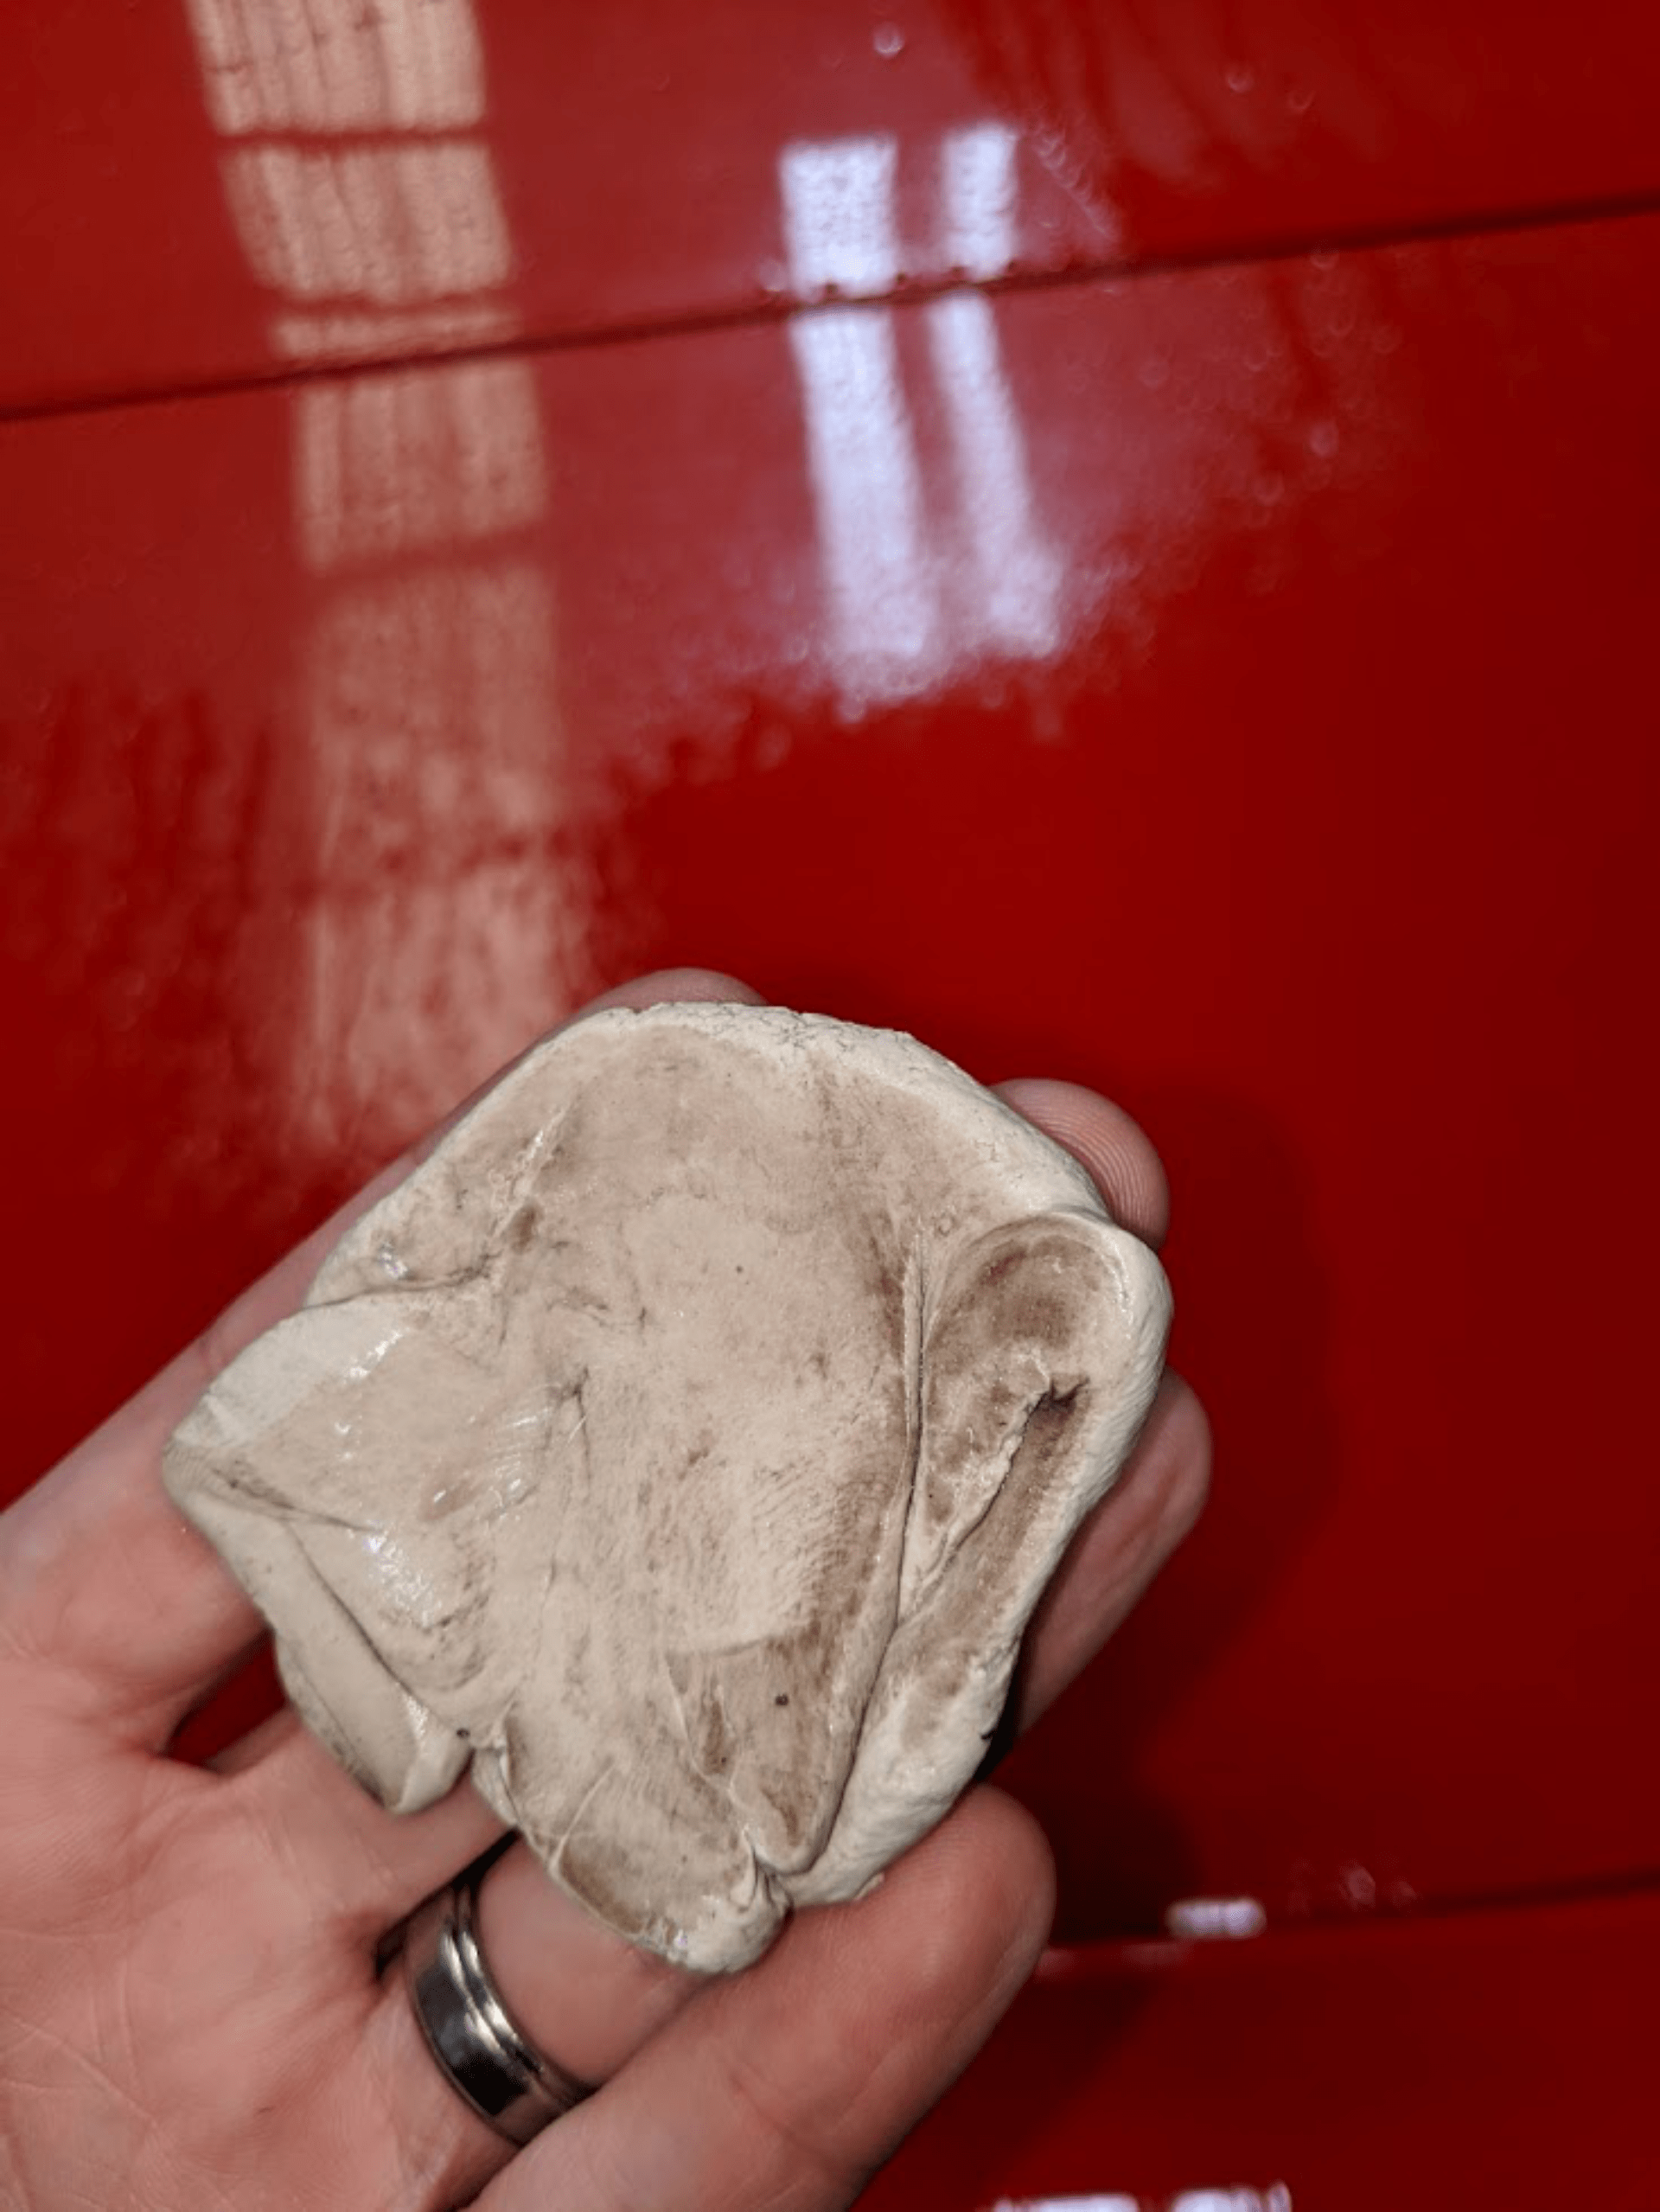
CLAY
Now this is where your coated vehicle will shine. You should not need to decon the vehicle nearly as often if washed regularly. If you do however you can use a fine clay mitt and shouldn't need much more than wash detergent after your initial hand wash
Claying is easy. Lubricate and wipe. You can almost hear how bad it is when you are doing it, and once you can no longer hear the "scratching" then move off. The trick here is that it is NOT about pressure, but about FRICTION. You do not have to SCRUB when claying. Depending on just how bad the paint is, Knead the clay or rinse the block often. (Benefit of the block for the amateur: if you drop it, which you probably will, you can rinse it off and go. Clay you are normally not so lucky.) Take the ONR solution and mix according to instruction for "clay lube" (note: this can be used as a supplement in your wash water or as a waterless wash altogether). I also like the clay mitts as you are able to combine 2 "steps" into one while washing. (Wash on "rag" side, then clay on the "clay" side, rinse repeat)
We normally then go over the vehicle with 1 more round of washing to make sure no residue from the clay is left over. For those of you in the "car wash" bay, flip it to "Spotless" to use the deionized water which will aid in drying and avoid type 1 water spots.
Finish
While there are a number of topping agents that are now available to use to help boost performance of your ceramic coating this step is really focus more on getting the vehicle dry which should take no time at all.
We suggest a dedicated electric leaf blower and our trusty dreatnaught towels and the whole process shouldn't take much longer than a minute or two.
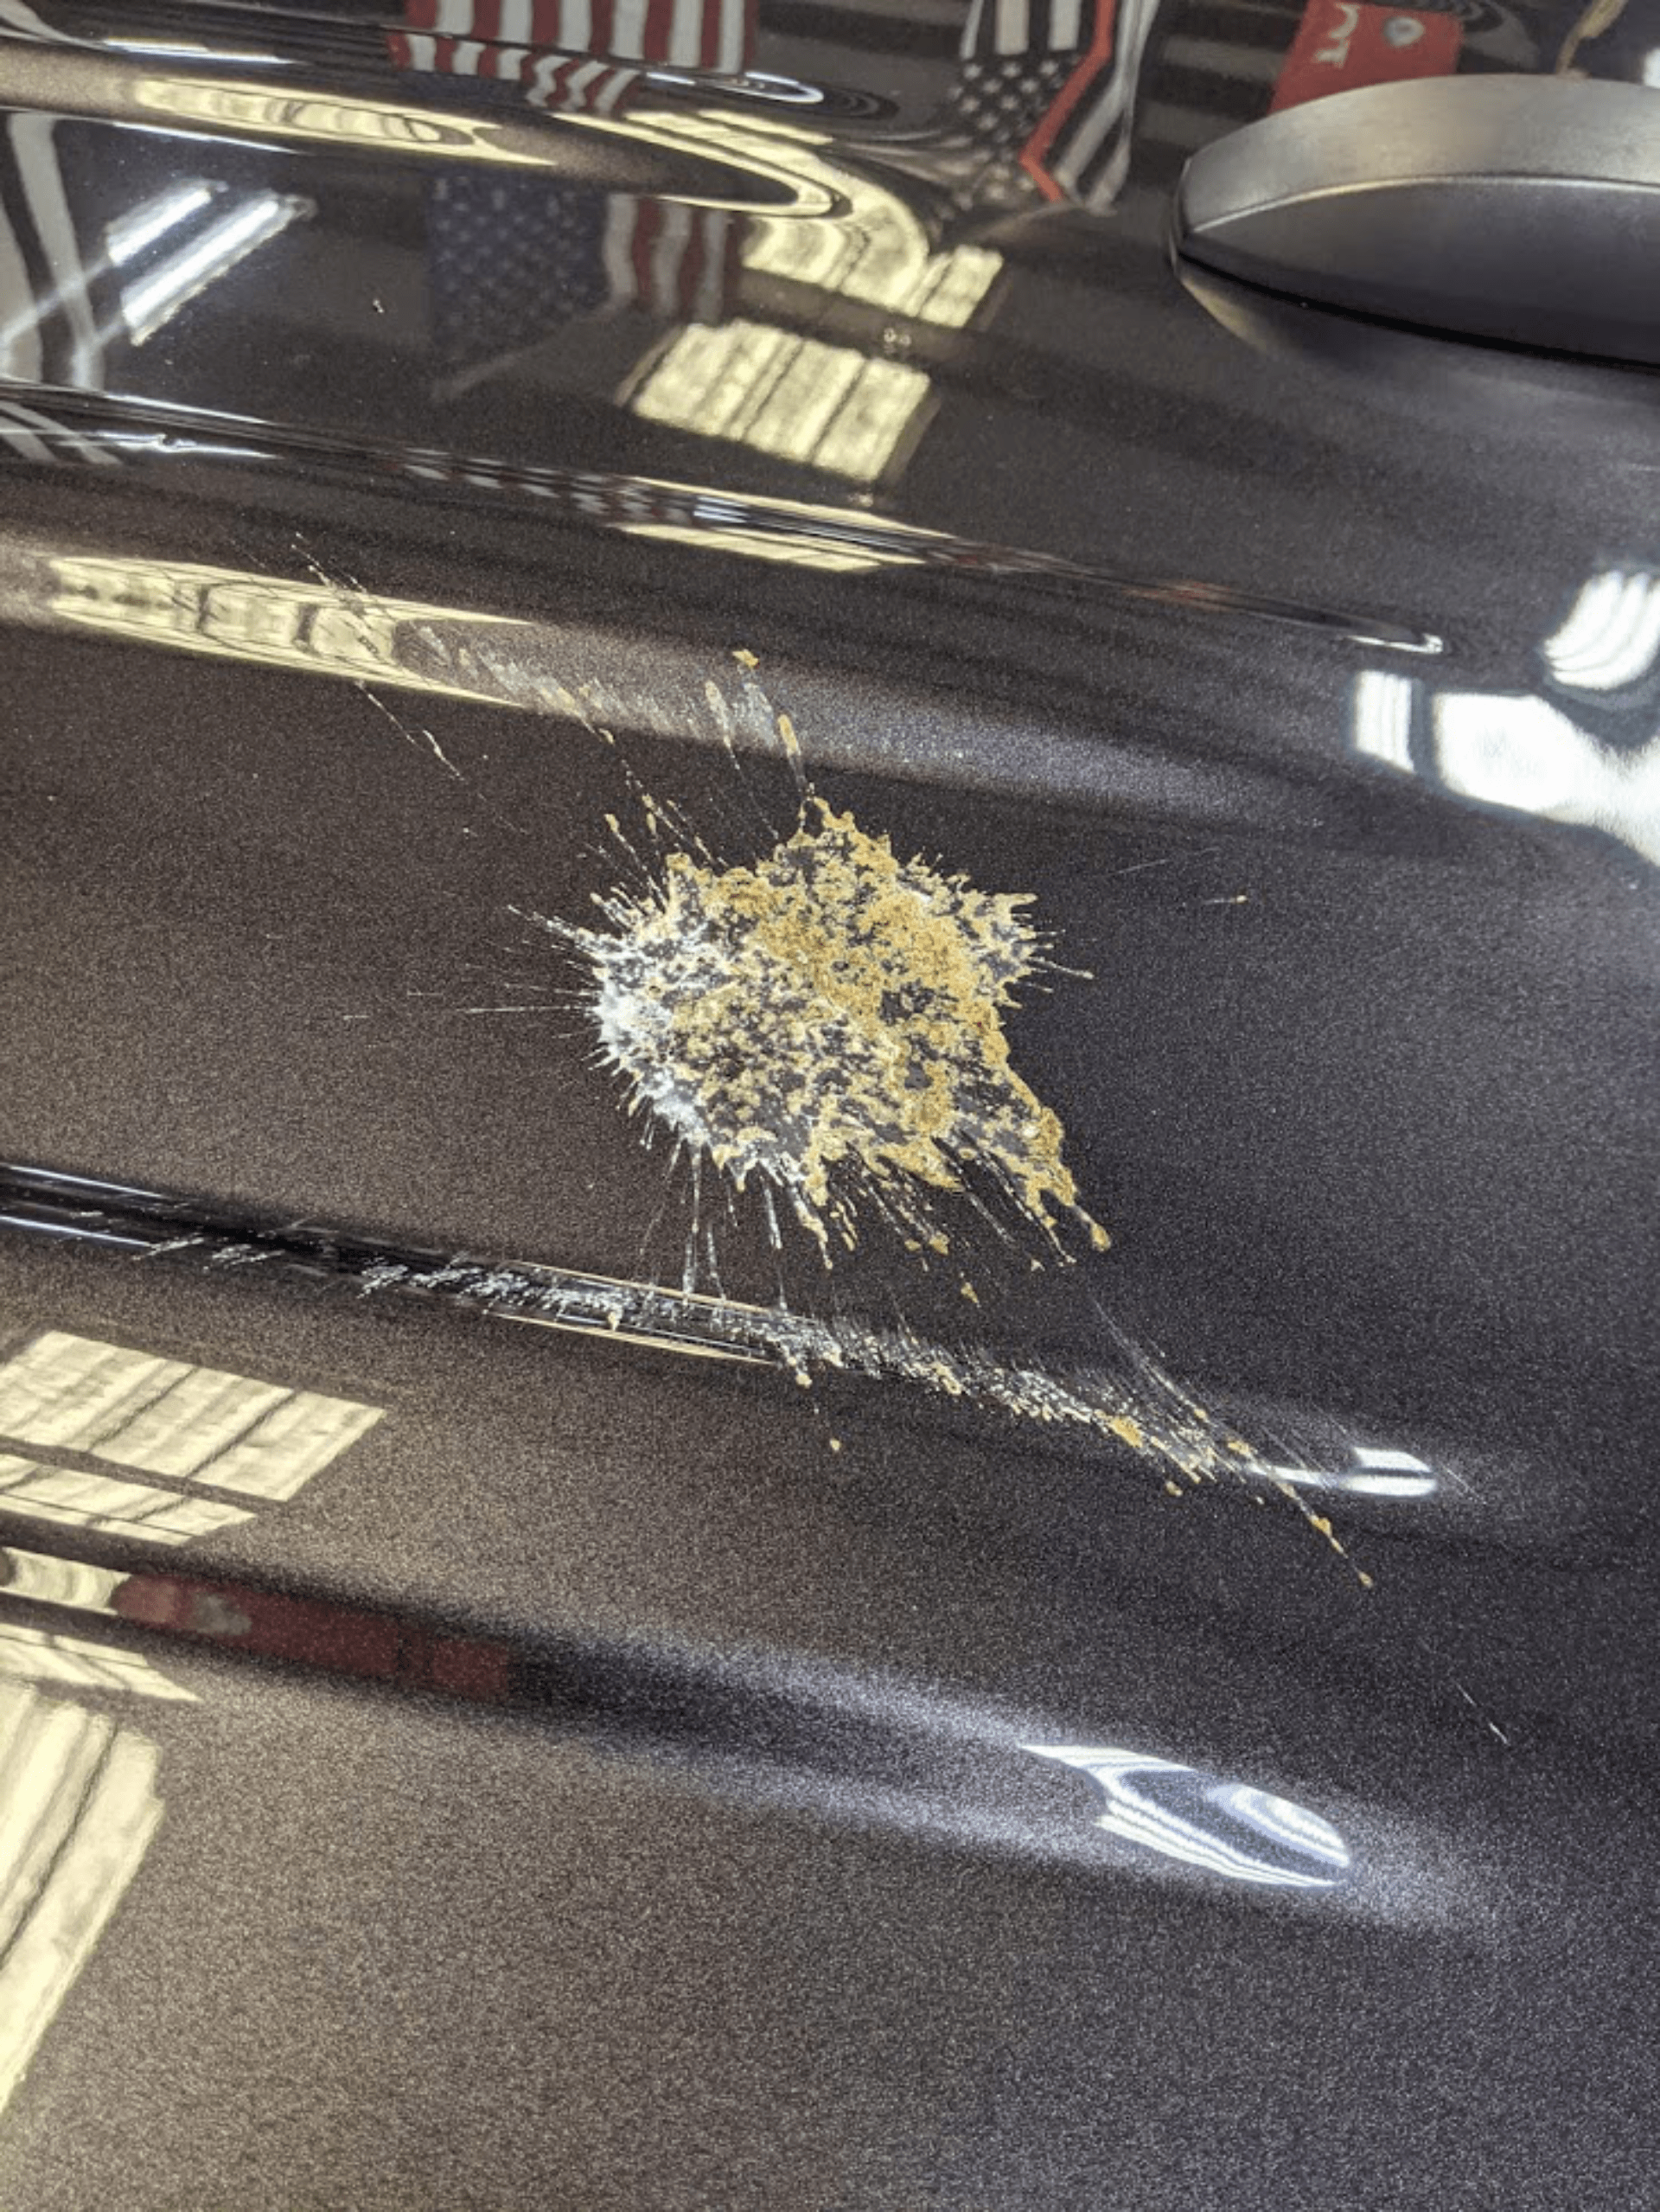
Throughout the week we love having a small spray bottle of some 10:1 Wipeout from ADG to catch any bird droppings and bug etchings you match catch along the way! We never want to directly wipe any foreign material into our vehicle, especially dry, the Wipeout ihas great emulsion and that will assist the lifting ability of the coating.
